This guide covers how to configure Entra authentication for a React Single Page Application (SPA) and a .NET API backend, enabling access to Microsoft Dataverse using the On-Behalf-Of (OBO) flow.
1. Register the Backend API Application
Name: myapp-api
- Navigate to Azure Portal → Azure Active Directory → App registrations → New registration.
- Name:
myapp-api - Supported account types: Single tenant
- Redirect URI: leave blank.
After registration:
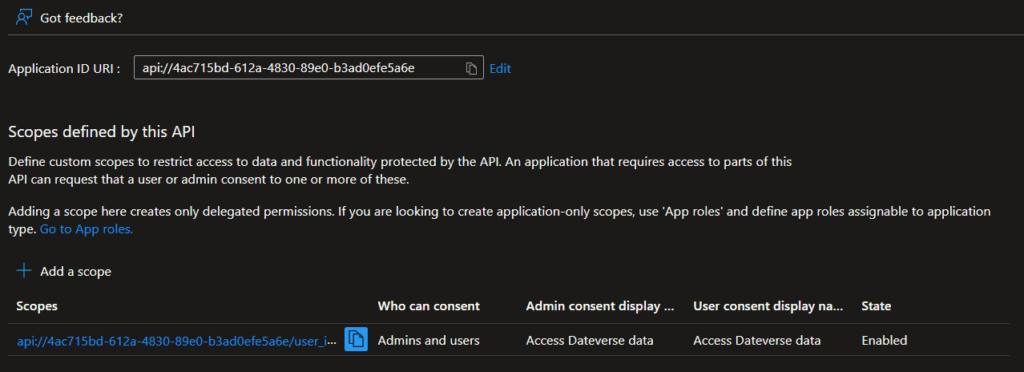
- Expose an API:
- Set the Application ID URI to:
api://<myapp-api-app-id> - Add a Scope:
- Name:
user_impersonation - Display Name/Description: “Access Dataverse data”
- State: Enabled
- Name:
- Set the Application ID URI to:
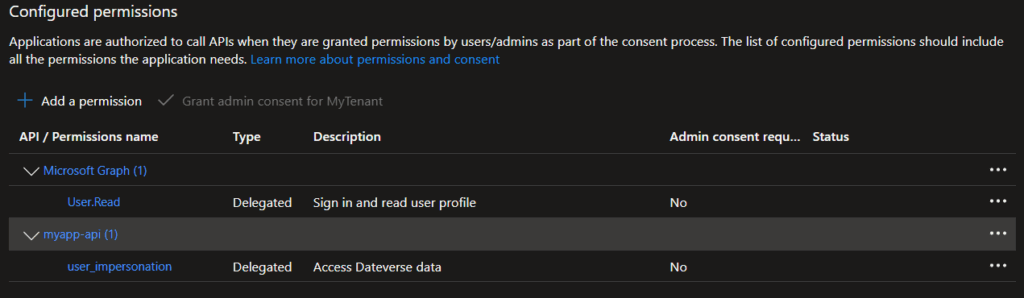
- Grant permissions:
- Go to API permissions → Add a permission.
- Choose APIs my organization uses, search for Dataverse or Dynamics CRM.
- Add the
user_impersonationor.defaultscope. - Grant admin consent

Note: Dataverse App ID: 00000007-0000-0000-c000-000000000000
2. Register the Frontend SPA Application
Name: myapp-frontend
- Navigate to Azure Portal → Azure Active Directory → App registrations → New registration.
- Name:
myapp-frontend - Supported account types: Single tenant
- Redirect URIs:
- Platform: Single-page application (SPA)
- Add:
http://localhost:3000or any URLs your frontend is running on.
After registration:
- Enable Implicit grant (under Authentication):
- ID tokens
- Access tokens
- Assign API permissions:
- My APIs → select
myaapp-api→ adduser_impersonation, you can search for the Application ID ofmyapp-api
- My APIs → select
3. Pre-authorize Frontend in Backend
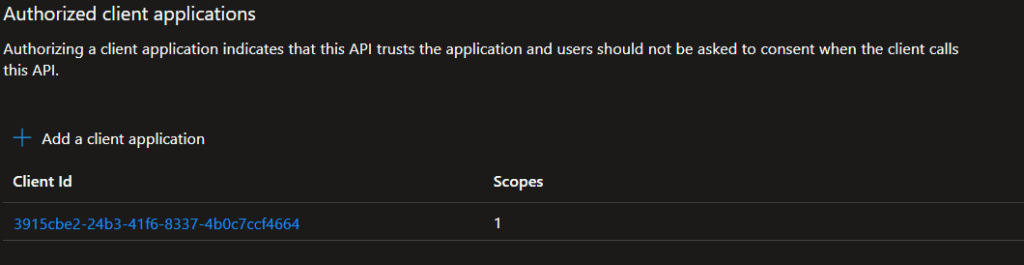
- In
myapp-api, go to Expose an API → Add a client application. - – Add:
- Client ID:
3915cbe2-24b3-41f6-8337-4b0c7ccf4664(myapp-frontendApp ID) - Scope:
user_impersonation
- Client ID:
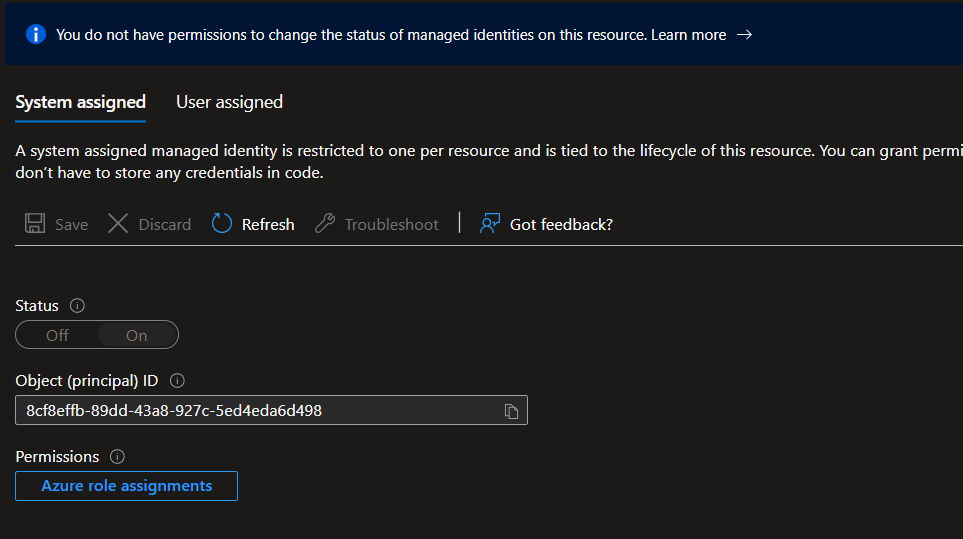
4. Register the Backend App as a Dataverse App User
- Copy the
myapp-apiApplication ID. - Go to Power Platform Admin Center → App Users → New App User
- Paste the Application ID.
- Assign the appropriate security role for Dataverse access.
5. Backend Code Setup
Program.cs
// Choose credential source based on environment (development vs production)
TokenCredential credential = builder.Environment.IsDevelopment() switch
{
    true => new DefaultAzureCredential(),
    false => new DefaultAzureCredential()
};

// Configure authentication using Microsoft Identity Web
builder.Services.AddAuthentication(JwtBearerDefaults.AuthenticationScheme)
    .AddMicrosoftIdentityWebApi(builder.Configuration.GetSection("AzureAd"))
    .EnableTokenAcquisitionToCallDownstreamApi()
    .AddDownstreamApi("DownstreamDataverseApi", builder.Configuration.GetSection("DownstreamDataverseApi"))
    .AddInMemoryTokenCaches();

// Configure HTTP client for Dataverse API calls
builder.Services.AddHttpClient("DataverseClient", client =>
{
    client.BaseAddress = new Uri(dataverseUrl); // Dataverse environment URL
    client.DefaultRequestHeaders.Accept.Add(new MediaTypeWithQualityHeaderValue("application/json"));
    client.DefaultRequestHeaders.Add("OData-MaxVersion", "4.0");
    client.DefaultRequestHeaders.Add("OData-Version", "4.0");
    client.DefaultRequestHeaders.Add("Prefer", "odata.include-annotations=\"*\""); // Request annotations
})
// Add authentication handler for injecting tokens
.AddHttpMessageHandler(_ => new DataverseManagedIdentityAuthHandler())
// Optional: Add resilience features (retry policies, etc.)
.AddStandardResilienceHandler();

// Register custom Dataverse client wrapper
builder.Services.AddScoped<DataverseHttpClient>();

var app = builder.Build();

// Enable authentication and authorization middleware
app.UseAuthentication();
app.UseAuthorization();appsettings.json
{
    "AzureAd": {
        "Audience": "api://4ac715bd-612a-4830-89e0-b3ad0efe5a6e", // Backend API Application ID URI
        "Authority": "https://login.microsoftonline.com/<your-tenant-id>", // Tenant Authority URL
        "Instance": "https://login.microsoftonline.com/", // Common Microsoft login endpoint
        "TenantId": "<your-tenant-id>", // Azure AD Tenant ID
        "Domain": "your-tenant-domain.com", // Tenant domain name
        "ClientId": "4ac715bd-612a-4830-89e0-b3ad0efe5a6e" // Backend API App Registration Client ID
    },
    "DownstreamDataverseApi": {
        "BaseUrl": "https://{your-environment}.api.crm.dynamics.com/", // Dataverse API base URL
        "Scopes": "https://{your-environment}.api.crm.dynamics.com/.default" // Dataverse API default scope
    }
}
DataverseManagedIdentityAuthHandler.cs
// Custom HTTP message handler for authenticating Dataverse API requests
public sealed class DataverseManagedIdentityAuthHandler(
    ITokenAcquisition tokenAcquisition,
    IHttpContextAccessor httpContextAccessor,
    IConfiguration configuration) : DelegatingHandler
{
    // This method is called for every outgoing HTTP request
    protected override async Task<HttpResponseMessage> SendAsync(HttpRequestMessage request,
        CancellationToken cancellationToken)
    {
        // Get the current authenticated user from HTTP context
        var user = httpContextAccessor.HttpContext?.User;

        // Reject if no authenticated user is found
        if (user?.Identity is not { IsAuthenticated: true })
        {
            throw new UnauthorizedAccessException("User is not authenticated");
        }

        // Load required scopes from configuration
        var scopesToAccessDataverseApi = configuration["DownstreamDataverseApi:Scopes"]
            ?? throw new Exception("Configuration 'DownstreamDataverseApi:Scopes' is missing.");

        // Acquire access token on behalf of the authenticated user
        var token = await tokenAcquisition.GetAccessTokenForUserAsync(
            [scopesToAccessDataverseApi],
            user: user);

        // Attach the token to the outgoing HTTP request
        request.Headers.Authorization = new AuthenticationHeaderValue("Bearer", token);

        // Proceed with sending the HTTP request
        return await base.SendAsync(request, cancellationToken);
    }
}